When it comes to making the perfect hummus, the kitchen showdown is real: Blender vs. Food Processor. Both are powerhouses of pureeing prowess, promising smooth, creamy results-but which truly reigns supreme in whipping up that velvety, luscious dip we all crave? Whether you’re a hummus aficionado or a curious culinary explorer, understanding the strengths and quirks of these two appliances can transform your chickpea game. Let’s dive into the blend-off and discover which kitchen companion will elevate your hummus from good to unforgettable.
Blender vs Food Processor: Which Whips Up Better Hummus? Unlocking the perfect hummus texture involves more than just the ingredients-it demands the right kitchen companion. Whether you lean toward the smooth, velvety finish of a blender or the rustic, chunky charm a food processor delivers, each tool shapes your hummus experience uniquely. Let’s explore how these appliances elevate your chickpeas and tahini to hummus heaven, balancing texture, power, and convenience.
Prep and Cook Time
Preparation: 10 minutes | Processing: 5 minutes | Total: 15 minutes
Yield
Approximately 4 servings (about 1½ cups of hummus)
Difficulty Level
Easy – Perfect for hummus lovers of all skill levels
Ingredients
- 1 ½ cups cooked chickpeas (or one 15 oz can, drained and rinsed)
- ¼ cup tahini (sesame seed paste)
- 3 tbsp fresh lemon juice
- 2 tbsp extra-virgin olive oil
- 2 cloves garlic, minced
- ½ tsp ground cumin
- ½ tsp kosher salt
- ¼ cup cold water (plus more as needed)
- Pinch of smoked paprika (optional, for garnish)
- Fresh parsley, finely chopped (optional garnish)
Instructions
- Prepare Your Chickpeas: Ensure chickpeas are well-drained and rinsed if canned. For a creamier texture, peel the skins off, which is easier to do after soaking and cooking.
- Combine Base Ingredients: Add chickpeas, tahini, lemon juice, garlic, cumin, and salt into your blender or food processor bowl.
- Processing:** Use the pulse function for a rustic, chunkier hummus in a food processor, occasionally scraping down the sides. For blender users, start on low speed and gradually increase until smooth, adding cold water a tablespoon at a time to achieve that luscious creaminess without drying out.
- Add Olive Oil Slowly: While blending or processing, drizzle in the olive oil to help emulsify the ingredients, creating a naturally glossy finish.
- Taste and Adjust: Check seasoning-if it feels dense, add a splash more cold water or lemon juice. Continue processing for another 30 seconds if you want ultra-smooth texture or stop earlier for more bite.
- Serve and Garnish: Transfer to a shallow dish, drizzle with olive oil, sprinkle smoked paprika and chopped parsley for an inviting presentation.
Chef’s Notes: Choosing the Right Tool for Your Hummus Style
- Blender: Ideal for silkily smooth hummus. Its high-speed blades create a delicate texture, akin to a creamy dip that spreads effortlessly. Great for those who prefer their hummus to feel light and airy. Avoid overfilling to prevent motor strain and overheating.
- Food Processor: Perfect for traditional, textured hummus. Food processors deliver a paste that balances smoothness and a bit of rustic bite, retaining small bits of chickpea. This method excels if you like to customize texture or add chunky ingredients like roasted red peppers or pine nuts.
- Power Considerations: Both appliances handle chickpeas and tahini well but a food processor with a powerful motor offers consistent blending without stalling. A high-powered blender can compete but sometimes struggles with thick mixtures without added liquid.
- Ease of Use and Cleanup: Blenders often require less time cleaning due to fewer parts, while food processors may collect hummus around the blade assembly. Dishwasher-safe bowls and sharp blades make cleanup smooth either way.
- Flavor Insight: Using a food processor can bring out nuttier, toasted tahini notes by lightly pulsing longer, while the blender’s thorough blend flattens flavors slightly, so compensate by adding extra lemon or garlic.
Serving Suggestions
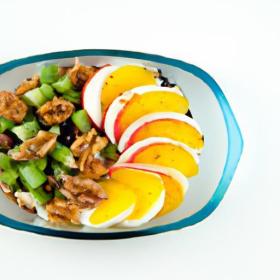
Present your homemade hummus drizzled with vibrant olive oil, a dusting of smoky paprika, and fresh parsley sprigs. Serve alongside warm pita bread, crisp vegetable crudités, or as a layer in wraps and grain bowls. Adding a topping of toasted pine nuts or a spoonful of za’atar spice blend can elevate the experience even more.

| Nutrient | Per Serving |
|---|---|
| Calories | 180 |
| Protein | 6g |
| Carbohydrates | 15g |
| Fat | 11g |
For more insights on blending techniques and hummus creativity, explore our Ultimate Hummus Flavors Explained. To deepen your understanding of tahini’s role, check out this informative guide on What Is Tahini?
Q&A
Q: Can I make hummus with both a blender and a food processor?
A: Absolutely! Both blenders and food processors can whip up a creamy batch of hummus. However, their design differences might influence the texture and ease of preparation.
Q: Which appliance delivers smoother, silkier hummus?
A: Food processors tend to produce a creamier, more velvety hummus because their wider bowl and blade configuration better handle thick, dense mixtures. Blenders, designed for liquids, might struggle a bit with the chickpea paste, sometimes resulting in a thinner or slightly chunkier texture.
Q: Is there a difference in prep time between using a blender or a food processor?
A: Food processors usually take less time since they’re built to handle solid and dense ingredients efficiently. Blenders may require you to add extra liquid and stop to scrape down the sides more frequently, extending the process.
Q: What about cleanup-does one have an edge?
A: Blenders often have fewer parts and are generally quicker to clean, especially if you rinse right after use. Food processors, with their multiple components like the bowl, lid, and blade, can demand a bit more cleanup effort.
Q: Does ingredient quantity affect which tool is better?
A: Yes! Food processors handle larger batches with ease, making them ideal for party-sized hummus servings. Blenders are great for smaller amounts but might need you to work in batches for bigger quantities.
Q: Can I still make delicious hummus if I only have a blender?
A: Definitely! With a few tips-like using cooked, soft chickpeas, adding enough liquid (olive oil or aquafaba), and pulsing to avoid overheating-you can achieve tasty, smooth hummus right in your blender.
Q: Which appliance is more versatile beyond making hummus?
A: Food processors often offer more versatility for chopping, slicing, and mixing dough, while blenders excel at smoothies, soups, and sauces. So, your choice might also depend on your kitchen habits and favorite recipes.
Q: Bottom line-blender or food processor for hummus?
A: If creamy, effortlessly smooth hummus is your goal and you make it frequently, a food processor is your best friend. But if you prefer quick cleanup and mostly make small batches, a blender can still whip up a delicious bowl-just with a little extra love and technique!
Future Outlook
In the end, whether your perfect hummus emerges from the sleek blades of a blender or the sturdy chops of a food processor depends on your texture preference and kitchen style. The blender’s high-speed whirl creates a luxuriously smooth dip, ideal for those who crave creamy perfection, while the food processor offers a bit more rustic charm with a chunkier, heartier bite. Both tools have their merits, and either can help you whip up a delicious batch that will disappear fast at any gathering. So next time you’re craving hummus, remember: the best appliance is the one that suits your taste-and your countertop. Happy blending, or processing!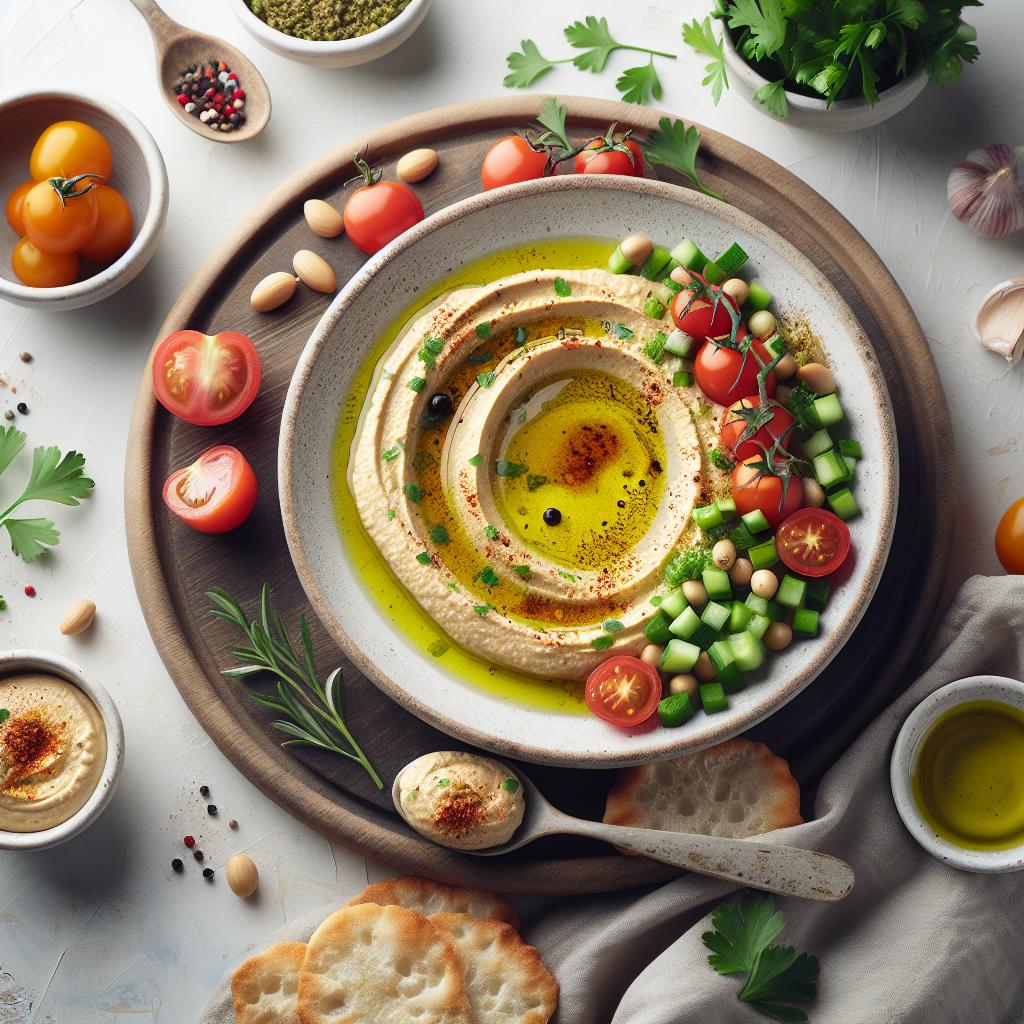


