There’s something wonderfully satisfying about homemade yogurt-the creamy texture, the tangy flavor, and the knowledge that it’s crafted with your own hands. Yet, the true joy comes not just from making it, but from keeping it fresh and delicious for days to come. Whether you’re a kitchen novice or a seasoned yogurt artisan, mastering the art of storage is key to preserving that perfect, velvety bite. In this article, we dive into the top tips for storing homemade yogurt, unlocking secrets that ensure every spoonful tastes just as vibrant as the moment it was made. Get ready to extend the life of your creamy creation and savor freshness with every serving!
Keep It Fresh: Top Tips for Storing Homemade Yogurt begin with selecting containers that honor the delicate balance of flavor and texture that homemade yogurt embodies. The choice of container can transform your yogurt from an everyday snack into a creamy, luscious delight that retains its silky mouthfeel and subtle tang week after week.
Prep and Cook Time
Preparation: 15 minutes Incubation: 6-8 hours Cooling & Storage: 4 hours minimum
Yield
Approximately 1 quart (4 cups) of homemade yogurt
Difficulty Level
Easy – perfect for first-time yogurt makers and seasoned pros alike
Ingredients
- 1 quart whole milk (or your preferred milk)
- 2 tablespoons live active yogurt starter (plain, unsweetened)
- Optional: 1 tablespoon powdered milk to thicken
Instructions
- Choose a container made from glass or food-grade ceramic with a tight-fitting lid; these materials preserve flavor without imparting odors, ensuring your yogurt remains fresh and pure.
- Heat milk in a heavy-bottomed saucepan over medium heat until it reaches 180°F (82°C), stirring gently to prevent scorching; this temp denatures proteins critical for creamy texture.
- Cool milk to 110°F (43°C), the optimal temperature for bacterial culture growth; use a kitchen thermometer for accuracy.
- Whisk in the live active yogurt starter thoroughly but gently to avoid breaking up curds prematurely.
- Pour the mixture into your chosen container, cover with the lid or a clean cloth secured with a rubber band.
- Incubate the yogurt in a warm spot (110°F) for 6-8 hours; this can be a yogurt maker, a warm oven with the light on, or inside an insulated thermos.
- Once thickened, move your container immediately to the refrigerator to cool. Maintain steady cold storage at 38°F (3°C) or below – temperature fluctuations encourage whey separation and mold.
- Before serving, gently stir to reincorporate any separated whey on top; never discard it, as it’s rich in nutrients and good bacteria.
Chef’s Notes
- Glass jars are favored for their non-reactive surface and airtight seal, beating plastic in preserving flavor integrity and visual appeal.
- Temperature control is pivotal: if yogurt is too warm, beneficial cultures perish; too cold and fermentation stalls, producing inconsistent texture.
- To prevent mold, ensure all utensils are sterilized and avoid introducing contamination by using clean spoons each time you serve.
- For make-ahead ease, portion yogurt into single-serving glass jars with lids, then label them with dates to keep track of freshness.
Serving Suggestions
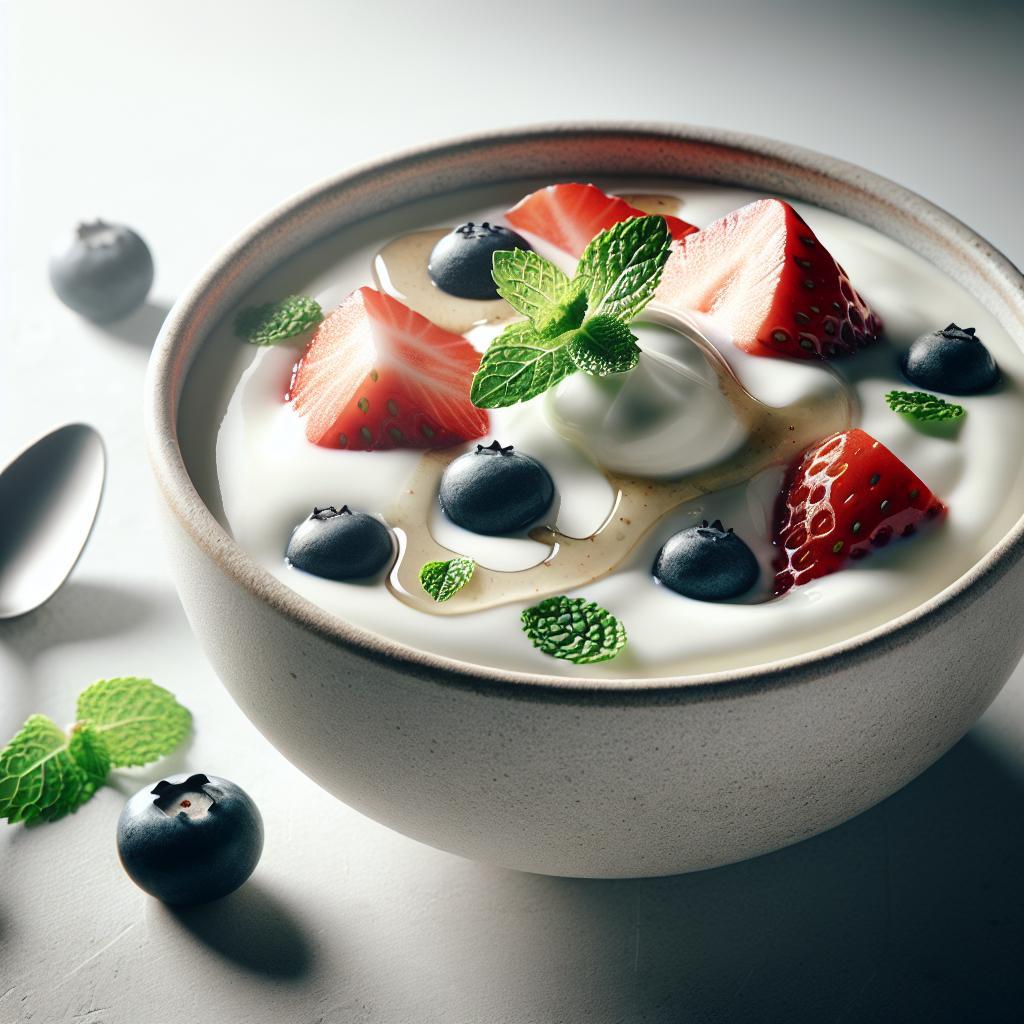
Homemade yogurt shines when paired with fresh berries and a drizzle of wildflower honey for a breakfast bowl that’s both vibrant and nourishing. For texture contrast, sprinkle toasted almonds or granola over the top. Use it as a creamy base in smoothies or dollop generously over spicy curries to balance heat. Garnish with finely chopped mint or a zest of lemon for a refreshing touch.

| Nutrition (per 1 cup) | Amount |
|---|---|
| Calories | 150 |
| Protein | 8 g |
| Carbohydrates | 12 g |
| Fat | 7 g |
Explore more on Creating Perfect Homemade Yogurt and for comprehensive food safety tips, visit FoodSafety.gov.
Q&A
Q&A: Keep It Fresh – Top Tips for Storing Homemade Yogurt
Q1: Why is proper storage important for homemade yogurt?
A1: Homemade yogurt is a living, breathing creation packed with live cultures. Proper storage ensures those beneficial bacteria stay happy and active, preserving flavor, texture, and nutritional benefits. Without the right environment, your yogurt can spoil, lose creaminess, or develop off-flavors.
Q2: What’s the best container for storing homemade yogurt?
A2: Glass jars with tight-fitting lids are your yogurt’s best friends. They’re non-reactive, easy to clean, and keep odors out. Avoid plastic containers, which can sometimes harbor lingering scents or chemicals, and steer clear of metal containers that might affect taste.
Q3: How cold should homemade yogurt be stored?
A3: Yogurt prefers a cool, consistent chill-ideally around 4°C (39°F). Keep it in the main body of your refrigerator, not the door, where temperatures fluctuate. This steady coolness helps maintain texture and slows the growth of unwanted bacteria.
Q4: How long can I store homemade yogurt safely?
A4: Typically, fresh homemade yogurt will keep its charm for up to 2 weeks refrigerated. However, for the best taste and texture, aim to enjoy it within 7 to 10 days. Always give it a sniff and a visual check before diving in!
Q5: Can homemade yogurt freeze well?
A5: Absolutely! Yogurt freezes beautifully but may become slightly grainy after thawing. To minimize texture changes, freeze it in airtight containers and thaw gently in the fridge. Stir well before serving-adding a fresh swirl of honey or fruit can bring back its creamy magic.
Q6: Is it normal for homemade yogurt to have some watery liquid on top?
A6: That’s whey, a natural byproduct of yogurt’s fermentation. It’s a sign your yogurt is alive and active! Simply stir it back in for creaminess or drain it off if you prefer thicker yogurt like Greek style.
Q7: Any tips for preventing contamination during storage?
A7: Hygiene is key! Use clean utensils every time and never double-dip. Avoid leaving the jar open too long; exposure to air invites unwanted bacteria. Label your containers with dates to keep track of freshness.
Q8: Can I add flavorings before or after storing yogurt?
A8: Wait until serving time! Adding fresh fruit, honey, or vanilla right before eating keeps flavors vibrant and prevents sugars from feeding unwanted microbes during storage.
Q9: What signs mean my homemade yogurt has gone bad?
A9: Trust your senses-if you notice a strong sour smell, mold spots, or an unusual sliminess, it’s time to toss it. Better safe (and fresh) than sorry!
Q10: Any creative storage hacks for homemade yogurt lovers?
A10: Yes! Portion your yogurt into small mason jars before refrigerating so you only open what you need, keeping the rest fresh. Also, layering yogurt with granola and fruit ahead of time makes for a grab-and-go breakfast that stays fresh and tasty.
With these tips in hand, your homemade yogurt will stay fresh, flavorful, and full of life-ready to delight spoonful after spoonful!
Wrapping Up
Keeping your homemade yogurt fresh is more than just a matter of taste-it’s about preserving the love and care you put into every batch. By following these simple yet effective storage tips, you can extend the life of your creamy creation and enjoy its probiotic goodness longer. Remember, a little attention to temperature, airtight containers, and timely consumption goes a long way in maintaining that perfect tangy flavor and velvety texture. So next time you make your own yogurt, treat it well, and it’ll reward you with deliciousness that stays fresh and vibrant-just like your passion for homemade goodness. Happy fermenting!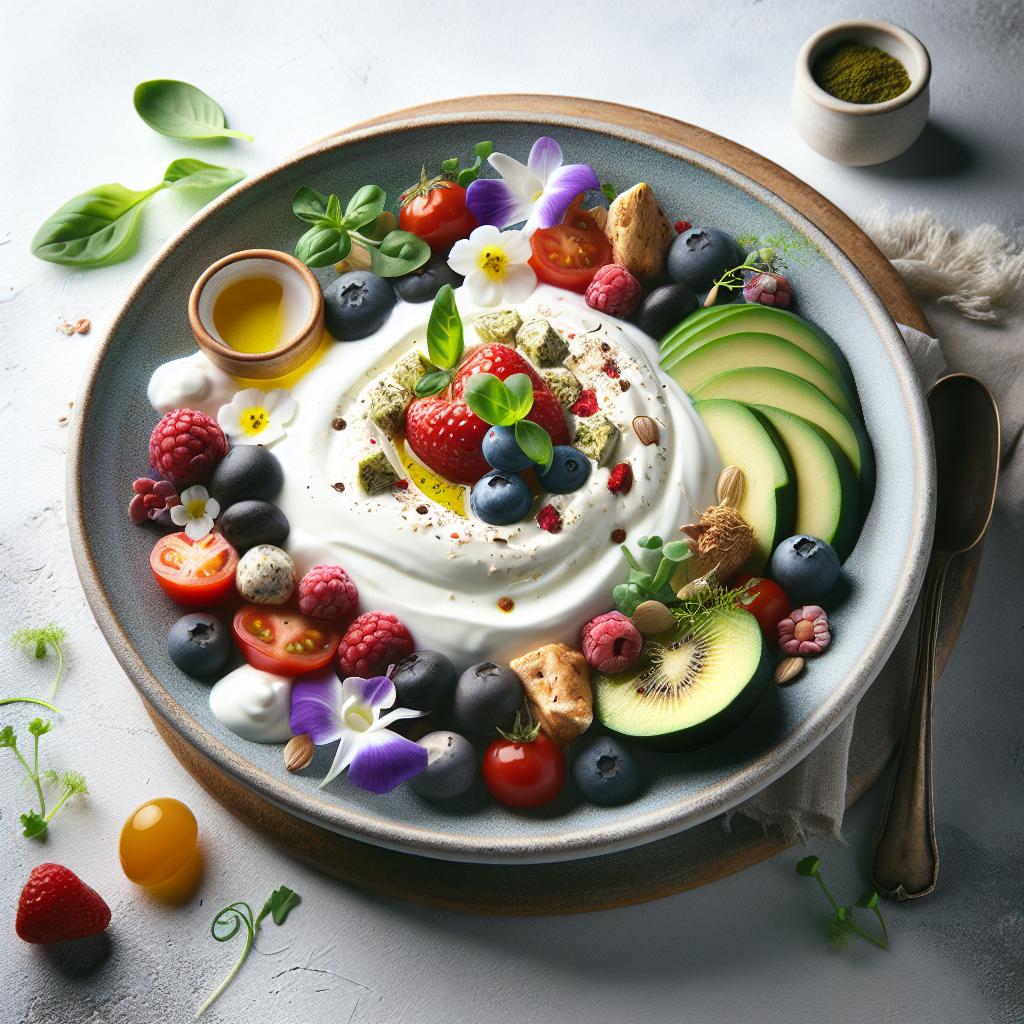


