There’s something undeniably magical about breaking into a warm, pillowy pita straight from the oven-a simple loaf that holds within it the essence of ancient kitchens and vibrant markets. Crafting perfect homemade pita bread might seem like an art reserved for seasoned bakers, but with the right ingredients, techniques, and a little patience, anyone can unlock this timeless culinary treasure. In this step-by-step guide, we’ll demystify the process, blending tradition with modern tips to help you create pitas that puff up beautifully with soft pockets ready for any filling. Prepare to transform flour and water into edible clouds that bring the heart of Mediterranean cooking right to your table.
Crafting perfect homemade pita bread starts with choosing the finest ingredients to ensure authentic flavor and delightful texture. Each element-from the flour to the yeast-plays a crucial role in producing that irresistibly soft, yet slightly chewy pita with a beautifully puffed pocket ready to cradle your favorite fillings.
Prep and Cook Time
- Preparation: 15 minutes
- Resting and Proofing: 1 hour 30 minutes
- Baking: 5-7 minutes per batch
- Total Time: Approximately 2 hours
Yield
8 medium-sized pitas (about 6-inch diameter each)
Difficulty Level
Medium – perfect for home bakers looking to elevate their bread-making skills with rewarding results
Ingredients
- 2 cups all-purpose flour, sifted
- 1 cup whole wheat flour (optional for a nutty flavor)
- 1 cup warm water (about 110°F / 43°C)
- 2 teaspoons active dry yeast
- 1 teaspoon granulated sugar
- 1 teaspoon fine sea salt
- 2 tablespoons extra-virgin olive oil, plus extra for brushing
Instructions
- Activate the yeast: In a small bowl, sprinkle sugar over the warm water, then add active dry yeast. Let sit for 5-7 minutes until frothy and bubbly, signaling the yeast is alive and ready.
- Mix the flours and salt: In a large mixing bowl, combine all-purpose flour, whole wheat flour (if using), and salt. Whisk lightly to evenly distribute the salt.
- Create the dough: Gradually pour the yeast mixture and olive oil into the flour mixture. Stir with a wooden spoon until a shaggy dough forms.
- Knead with intention: Transfer the dough onto a lightly floured surface. Knead for 8-10 minutes until smooth, elastic, and slightly tacky. Tip: If dough sticks too much, sprinkle with additional flour sparingly to keep it soft.
- First rise: Shape the dough into a ball and place it in a large oiled bowl, turning once to coat. Cover with a damp towel or plastic wrap and let rise in a warm, draft-free spot for 1 hour, or until doubled in size.
- Divide and shape: Punch down dough gently and divide into 8 equal portions. Roll each into a smooth ball, then let rest under a towel for 10 minutes to relax the gluten.
- Roll out pitas: On a lightly floured surface, roll each ball into a flat circle, about 1/4-inch thick. Aim for an even thickness to help form the characteristic pocket.
- The cooking surface: Preheat a cast iron skillet or heavy-bottomed pan over medium-high heat until smoking hot but not burning. The pan must be very hot for proper puffing.
- Bake each pita: Place one rolled-out pita into the skillet. Cook for 1-2 minutes until bubbles form on the surface and the underside turns golden brown with charred spots. Flip and cook the other side for another 1-2 minutes. The heat will create air pockets forming the classic pita pocket.
- Keep warm: Transfer cooked pitas to a clean kitchen towel and cover to retain softness. Repeat with remaining dough balls.
- Optional finishing: For added flavor, brush each warm pita lightly with olive oil and sprinkle with sea salt or za’atar seasoning.
Tips for Success When Crafting Perfect Homemade Pita Bread
- Flour choice: Best results come from using a combination of bread or all-purpose flour and whole wheat flour for delicate texture and slight nuttiness.
- Proofing environment: Let your dough rise in a warm, humid spot-like a turned-off oven with a bowl of hot water nearby-to encourage optimal yeast activity.
- Rolling technique: Don’t roll the dough too thin or thick; about 1/4 inch is ideal to create a sturdy crust that still puffs beautifully.
- Pan temperature: The skillet must be hot enough to create instant steam, which helps puff the pita and develop that golden crust.
- Storage: Once completely cooled, store pitas in an airtight bag at room temperature for up to 3 days or freeze for up to 1 month. Reheat gently in a warm oven or skillet wrapped in foil.
Serving Suggestions
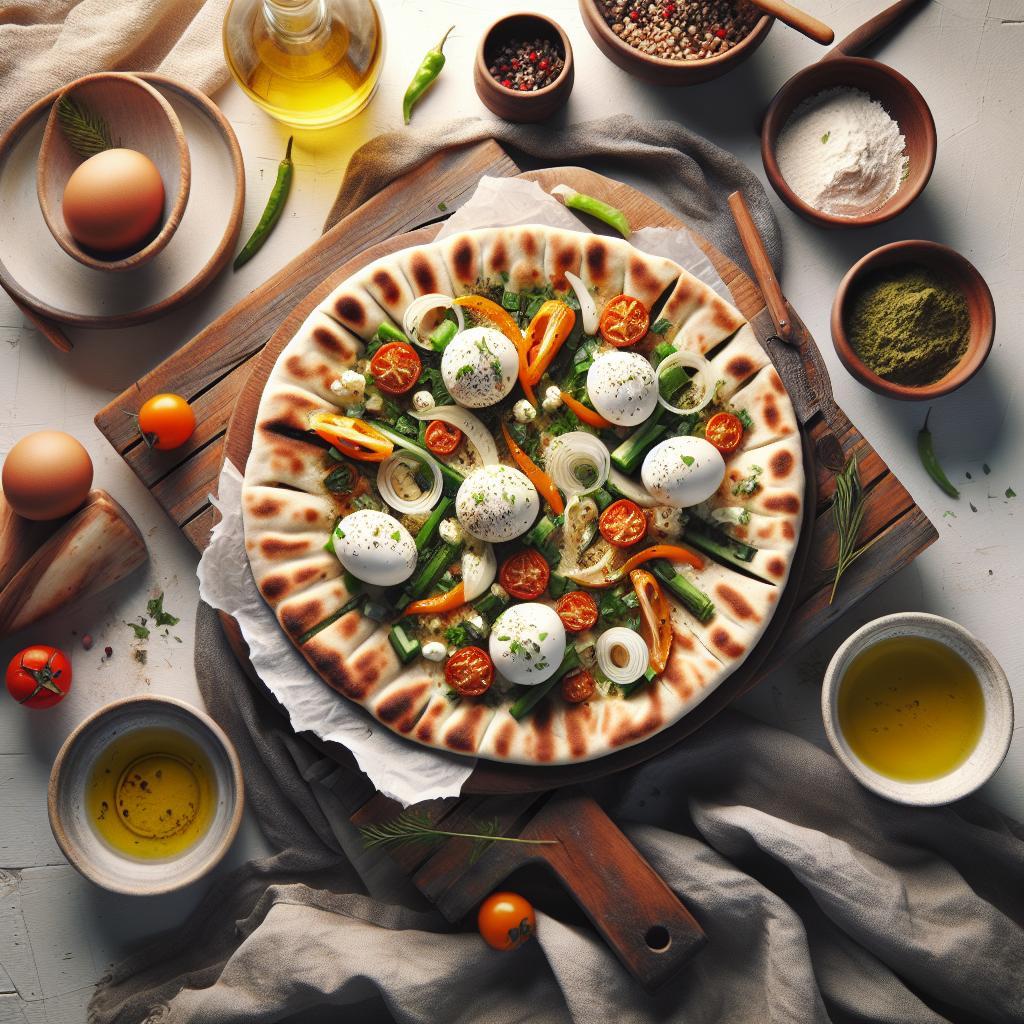
These soft, puffy pitas are an extraordinary base for a variety of fillings. Slice open the pocket and fill with grilled vegetables, falafel, or tender spiced chicken. For a Mediterranean touch, spread with hummus or tzatziki before adding crunchy pickles and fresh herbs like parsley or mint. A drizzle of olive oil and a sprinkle of sumac or sesame seeds elevate the presentation beautifully, making each bite a vibrant celebration of flavor and texture.
| Nutrient | Per Pita (approx.) |
|---|---|
| Calories | 165 |
| Protein | 5g |
| Carbohydrates | 32g |
| Fat | 3g |
Explore more about traditional homemade flatbread recipes on our site to pair with your fresh pitas. For a deeper dive into the science behind yeast and gluten, visit the King Arthur Flour baking guide.

Q&A
Q&A: Crafting Perfect Homemade Pita Bread – A Step-by-Step Guide
Q1: What makes homemade pita bread different from store-bought pita?
A: Homemade pita bread boasts a fresh, pillowy texture and a warm, yeasty aroma that store-bought versions often lack. When you make it yourself, you control every ingredient and step, resulting in pockets so perfect they’ll puff up with pride-and stay free of preservatives and additives.
Q2: Why is it important to have a hot oven when baking pita bread?
A: Pita bread needs an intense burst of heat to puff up and create that signature pocket. A blazing oven (ideally around 475°F or higher) turns dough discs into little balloons of wonder, sealing the pocket inside before the bread cools and flattens.
Q3: Can I use whole wheat flour for pita bread?
A: Absolutely! Whole wheat flour adds a nutty flavor and hearty texture to your pita. Keep in mind it may yield a denser bread, so balance wheat flour with some all-purpose flour for that classic lightness and perfect puff.
Q4: What’s the secret to getting a perfect pocket inside the pita?
A: The secret lies in the dough’s hydration, rolling technique, and oven temperature. A well-hydrated dough rolled evenly thin helps the pita expand uniformly. The oven’s heat causes steam to form inside, inflating the pocket magically in minutes.
Q5: How long should I let the dough rise?
A: Let your dough rise until it doubles in size-usually about 1 to 2 hours depending on room temperature. This breathes life into your dough and develops flavor, making your pita tender and fluffier.
Q6: Can I freeze pita bread?
A: Yes! Homemade pita freezes beautifully. Wrap each pita individually in plastic wrap and pop them in a ziplock bag. When you’re ready, just thaw and warm them in a hot pan or oven-they bounce back with soft, warm charm.
Q7: What toppings or fillings pair well with pita bread?
A: Pita bread is a blank canvas: stuff it with falafel, grilled veggies, juicy kebabs, or creamy hummus. Brush warm pitas with garlic butter or sprinkle za’atar for an extra burst of flavor.
Q8: Any tips for rolling pita dough to ensure perfect shape?
A: Keep your rolling pin moving in smooth, even strokes and try to maintain a consistent thickness-about 1/4 inch. Dust lightly with flour to avoid sticking, but not too much, or the dough becomes dry and tough.
Q9: Is it possible to bake pita on the stovetop instead of an oven?
A: Yes! A heavy skillet or cast iron pan heated until very hot can bake pita dough on the stovetop, creating those charming puffed pockets. Just be sure to flip it carefully and watch closely to avoid burning.
Q10: What should I serve with my homemade pita to showcase its freshness?
A: Serve your pita alongside vibrant Mediterranean staples-think zesty tzatziki, smoky baba ganoush, or vibrant tabbouleh. Freshness is key, so pair with crisp vegetables and herbs for a truly delightful experience.
With these insights and a sprinkle of doughy passion, your kitchen can transform into a pita bakery where every bite tells the story of freshly crafted, pocketed perfection!
The Way Forward
As the warm aroma of freshly baked pita fills your kitchen, you’ll realize that crafting perfect homemade pita bread is more than just a culinary task-it’s a rewarding journey into the heart of simple, timeless flavors. With each pocket puffed to perfection and every bite’s soft, chewy texture, you’re not just making bread; you’re creating edible comfort that invites endless possibilities-from hearty sandwiches to vibrant dips. Armed with this step-by-step guide, your oven becomes a gateway to pita perfection, proving that with patience and a pinch of love, homemade truly tastes better. So roll up your sleeves, dust off that rolling pin, and let your pita adventure begin-one delightful pocket at a time.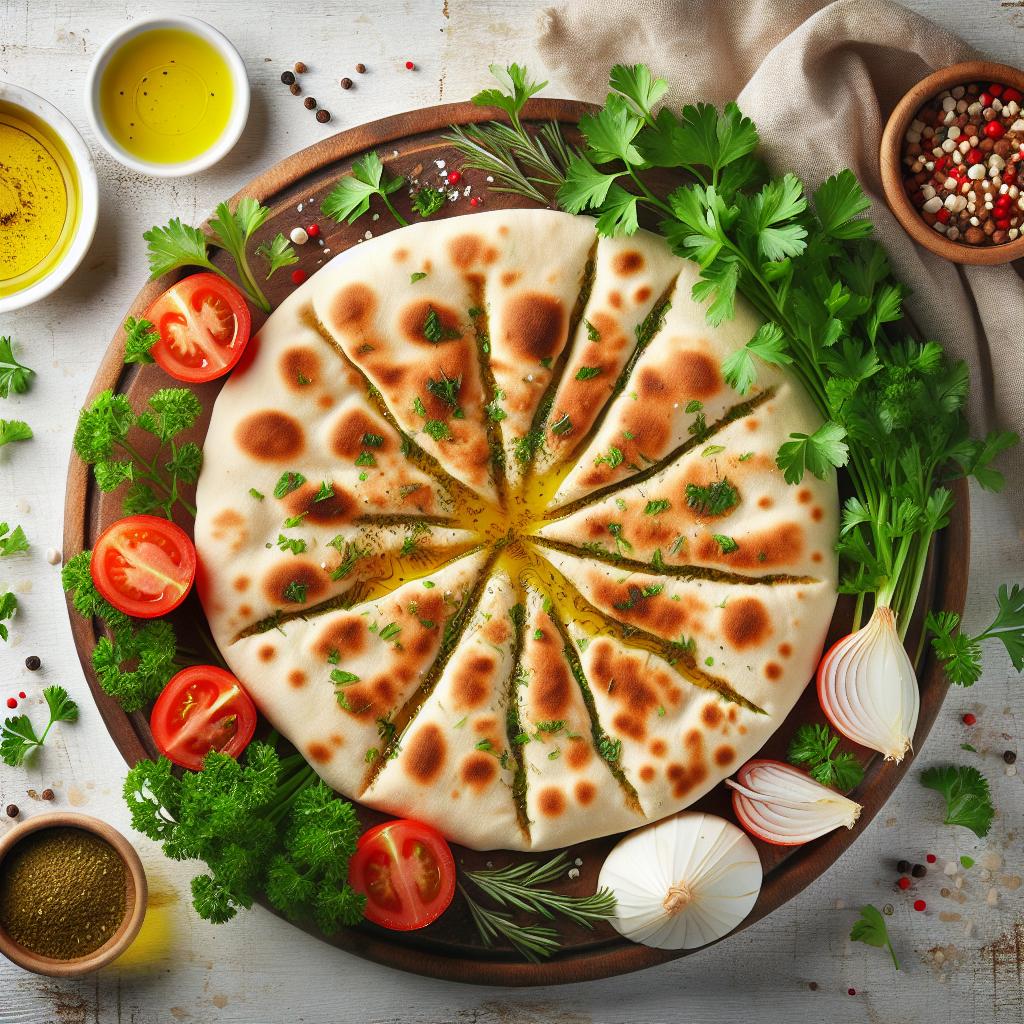


