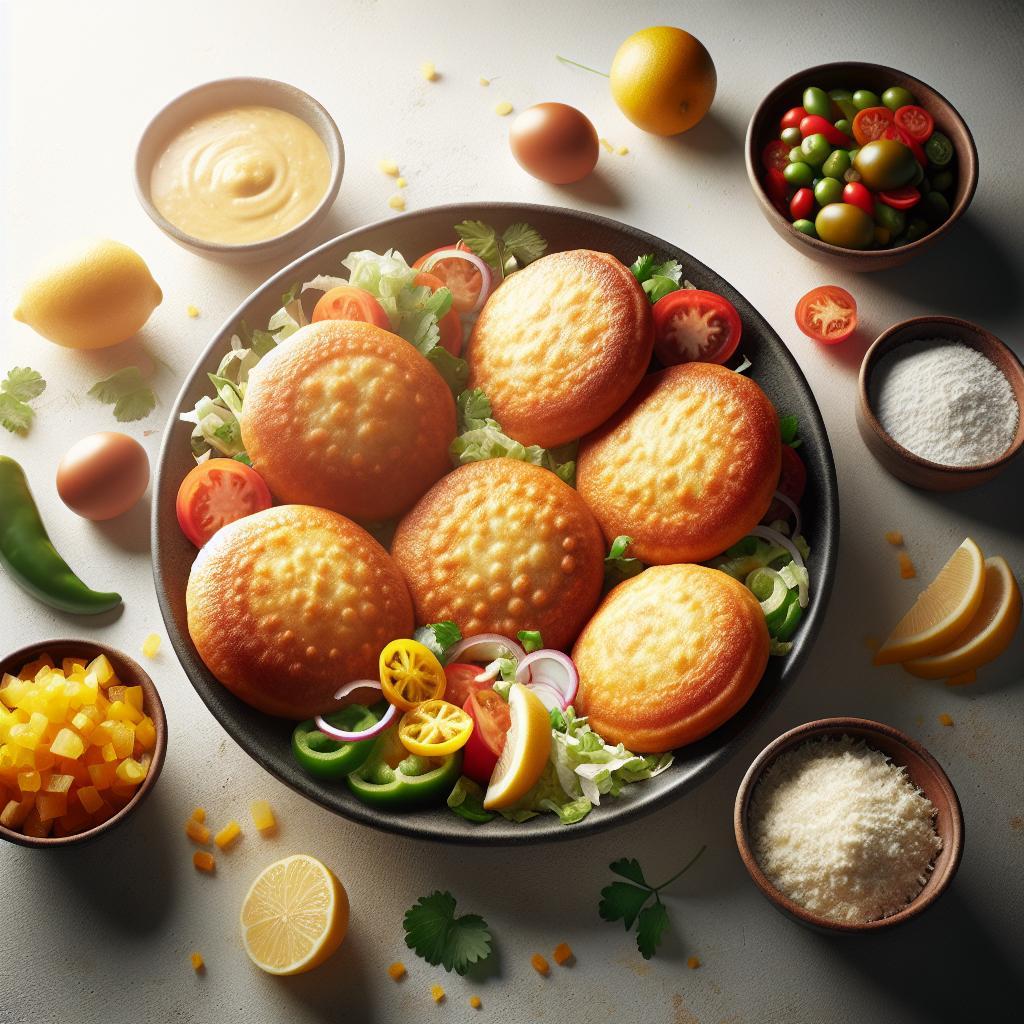
Golden, fluffy, and irresistibly warm-sopaipillas have long been a beloved treat in kitchens across the world, enchanting taste buds with their delicate crispness and melt-in-your-mouth texture. Whether served drizzled with honey, dusted with cinnamon sugar, or paired with savory fillings, these delightful pastries offer a versatile canvas for culinary creativity. In this ultimate homemade recipe guide, we’ll unravel the secrets behind mastering sopaipillas from scratch, transforming simple ingredients into a comforting tradition that’s perfect for any occasion. Get ready to roll up your sleeves and dive into the art of crafting sopaipillas that will impress family and friends alike!
Mastering sopaipillas begins with the foundation: the dough. Achieving that signature fluffy interior wrapped in a golden, crisp exterior is a sensory journey that elevates every bite. Originating from Latin American and Southwestern cuisines, sopaipillas are more than just fried dough-they’re a versatile canvas for endless flavor explorations, from sweet honey drizzles to savory fillings. Whether you’re revisiting childhood favorites or crafting new signature treats, this guide unlocks secrets to create irresistibly light, puffy sopaipillas that invite both comfort and creativity to your table.
Prep and Cook Time
- Preparation: 20 minutes
- Resting: 30 minutes
- Cooking: 15 minutes
- Total Time: 1 hour 5 minutes
Yield
Approximately 12 medium-sized sopaipillas (serves 4-6)
Difficulty Level
Medium – Requires attention to dough texture and frying temperature but approachable with simple kitchen tools
Ingredients
- 2 cups all-purpose flour, sifted
- 1 tbsp baking powder
- 1 tsp salt
- 2 tbsp granulated sugar
- 2 tbsp unsalted butter, cold and cubed
- 3/4 cup warm water (110°F / 43°C)
- 1/4 cup whole milk, warm
- Vegetable oil, for frying (about 4 cups or as needed)
Instructions
- Mix Dry Ingredients: In a large bowl, whisk together flour, baking powder, salt, and sugar until evenly combined.
- Cut in Butter: Using a pastry cutter or your fingers, incorporate the cold butter until the mixture resembles coarse crumbs. This step contributes to tender flakiness.
- Add Liquids: Gradually pour in the warm water and milk, stirring with a fork until the dough begins to come together.
- Knead the Dough: Transfer to a lightly floured surface. Knead gently for 5 minutes until smooth and elastic. Avoid overworking to keep them light.
- Rest the Dough: Form the dough into a ball, cover with a clean cloth, and let it rest for 30 minutes. This relaxes the gluten and helps achieve fluffiness.
- Roll and Cut: Roll the dough to about 1/4 inch thickness. Use a 4-inch round cutter or a sharp knife to cut into squares or circles.
- Heat Oil: Pour vegetable oil into a deep skillet or pot to a depth of 2 inches. Heat to 350°F (175°C) – use a thermometer for accuracy to prevent sogginess or burning.
- Fry the Sopaipillas: Fry in batches, gently dropping pieces into the hot oil. They should puff up beautifully within 1-2 minutes. Flip and fry until both sides are golden, about 1 minute per side.
- Drain: Remove with a slotted spoon and place on a wire rack or paper towels to drain excess oil, preserving that crisp finish.
- Serve Warm: Enjoy immediately for best texture-pair with your favorite fillings or toppings.
Tips for Success
- For extra puffiness, make sure the oil maintains a steady temperature. If oil cools down, sopaipillas absorb too much oil and become greasy.
- Experiment by adding a pinch of cinnamon or a teaspoon of vanilla extract to the dough for a subtle flavor twist.
- Keep the thickness uniform when rolling to ensure even cooking and optimal puffing.
- Make dough ahead and refrigerate for up to 24 hours, then bring to room temperature before frying.
- Handle the dough gently; over-kneading develops gluten, making sopaipillas tough instead of fluffy.
Serving Suggestions
These golden pillows of dough are a delight on their own, or you can elevate the experience with various fillings and accompaniments:
- Classic drizzle: Honey or maple syrup with a sprinkle of powdered sugar.
- Savory fillings: Refried beans, spiced ground beef, shredded chicken with chili sauce, topped with chopped cilantro and lime zest.
- Cheesy indulgence: Melted cheddar or queso fresco tucked inside before frying for gooey pockets.
- Sweet options: Nutella spread, fruit preserves, or cinnamon sugar dusting.
- Serve as a side for classic chili con carne or alongside hearty stews for a satisfying meal.
| Nutritional Info (Per Sopaipilla) | Calories | Protein | Carbs | Fat |
|---|---|---|---|---|
| Homemade Sopaipilla | 180 kcal | 3 g | 22 g | 8 g |
Discover more on frying techniques and dough tips at Serious Eats, a trusted culinary resource for home cooks aiming to perfect textures and flavors.

Q&A
Q&A: Mastering Sopaipillas – The Ultimate Homemade Recipe Guide
Q1: What exactly are sopaipillas?
A1: Imagine a golden, puffy pillow of fried dough that’s crispy on the outside, tender and airy on the inside-that’s a sopaipilla. Originating from Latin American cuisine, particularly popular in Chile, New Mexico, and parts of Spain, these delightful treats can be sweet or savory, making them wonderfully versatile.
Q2: Why make sopaipillas at home instead of buying them ready-made?
A2: Homemade sopaipillas allow you to savor the freshest, warmest puffs right from your own kitchen. Plus, the homemade route lets you customize the ingredients to suit your taste or dietary needs, whether you prefer gluten-free flour, a hint of spice in the dough, or a particular dipping sauce.
Q3: What are the key ingredients to master the perfect sopaipilla dough?
A3: The magic begins with simple pantry staples: flour, baking powder, salt, a bit of fat (like butter or shortening), and warm water or milk. Some recipes call for a touch of pumpkin or sweet potato puree to add moisture and subtle sweetness-giving your sopaipillas an unbeatable golden color and fluffy texture.
Q4: What’s the secret to getting that perfect puff?
A4: The secret lies in the right dough consistency and frying technique. The dough should be soft but not sticky, rolled out evenly, and cut into uniform shapes. When frying, the oil needs to be hot enough (around 375°F or 190°C) to create a quick steam pocket inside, which causes the dough to puff up beautifully like little edible balloons.
Q5: Can I make sopaipillas with alternative flours or dietary restrictions in mind?
A5: Absolutely! While traditional recipes use all-purpose flour, you can experiment with gluten-free blends or whole wheat for a different texture and flavor. Just be prepared to adjust the hydration level slightly, as different flours absorb liquids in unique ways. The key is to keep the dough pliable and well-kneaded.
Q6: What are some popular serving suggestions?
A6: Sopaipillas are a culinary chameleon. Serve them sweet with a drizzle of honey, powdered sugar, or cinnamon. For savory lovers, pair them with chili, refried beans, or a zesty salsa verde. Some even stuff them with cheese or meats for a hearty snack.
Q7: How do I store leftover sopaipillas without losing their delightful texture?
A7: Sopaipillas are best enjoyed fresh, but if you must store them, cool completely, then keep in an airtight container at room temperature for up to two days. Reheat gently in the oven or toaster oven to reclaim some crispness. Avoid microwaving, which can make them soggy.
Q8: What common mistakes should I avoid when making sopaipillas?
A8: Overworking the dough can make it tough, so knead just until smooth. Frying at too low a temperature results in greasy, dense puffs, while too hot oil may burn the outside before the inside cooks. Also, cutting the dough too thick or uneven can prevent proper puffing.
Q9: Can children get involved in making sopaipillas?
A9: Definitely! Kids love rolling dough and cutting shapes. It’s a fun way to teach patience and kitchen basics, plus they get to enjoy their crispy creations afterward. Just handle the frying part yourself or supervise closely.
Q10: Where can I find inspiration for creative sopaipilla variations?
A10: Draw inspiration from global flavors-spice up your dough with cumin or chili powder, fill them with savory pulled pork, or serve alongside exotic dips like guacamole or mole. Online food blogs, Latin American cookbooks, and community cooking classes offer treasure troves of ideas to make your sopaipilla journey endlessly delicious!
The Conclusion
As the golden, crispy edges of your homemade sopaipillas cool and the sweet scent lingers in the air, you’ve not only crafted a delightful treat-you’ve honored a beloved tradition with every fold and fry. Mastering sopaipillas is more than following a recipe; it’s about embracing the heart and soul baked into this simple yet extraordinary pastry. Whether dusted with sugar, drizzled with honey, or savored alongside savory dishes, your newfound skills open the door to endless culinary adventures. So roll up your sleeves, summon your creativity, and let each sopaipilla be a tasty testament to your journey from kitchen novice to dough-flipping pro. Happy cooking!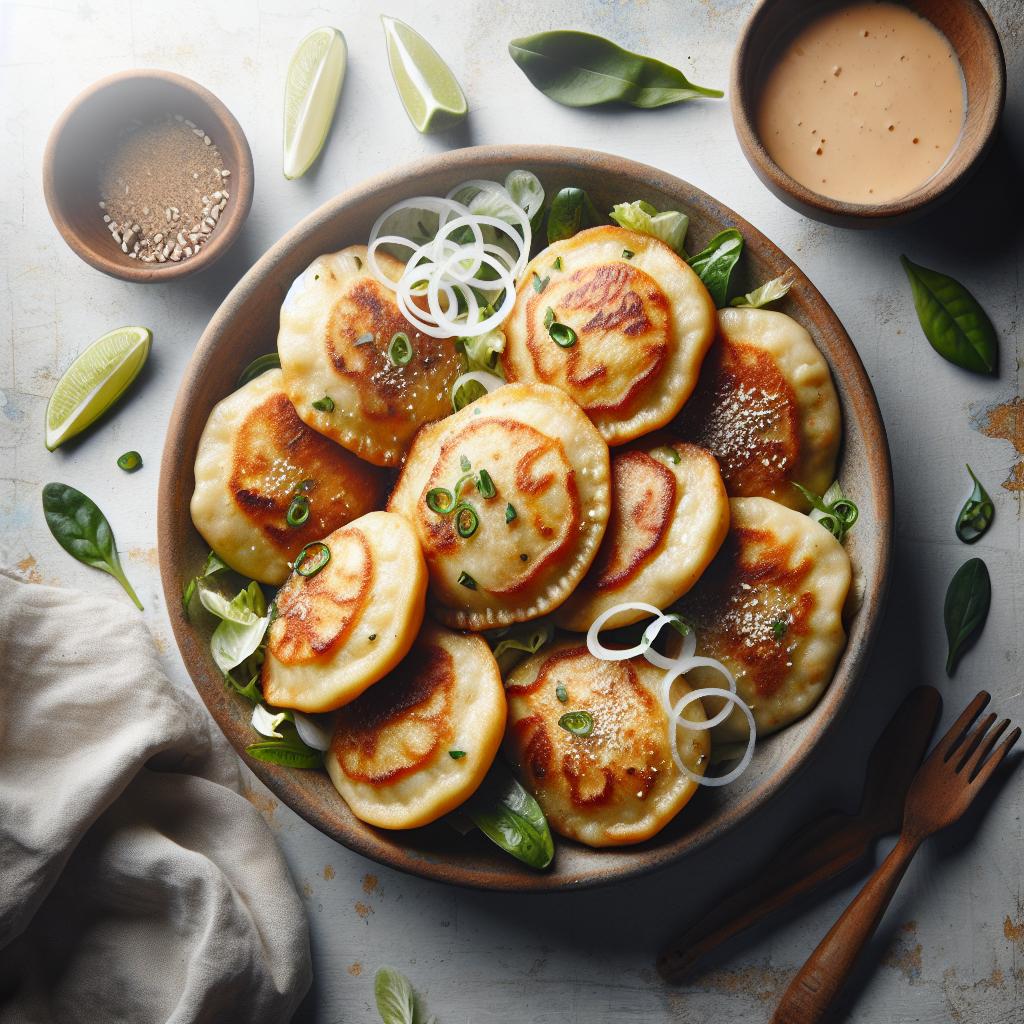


